
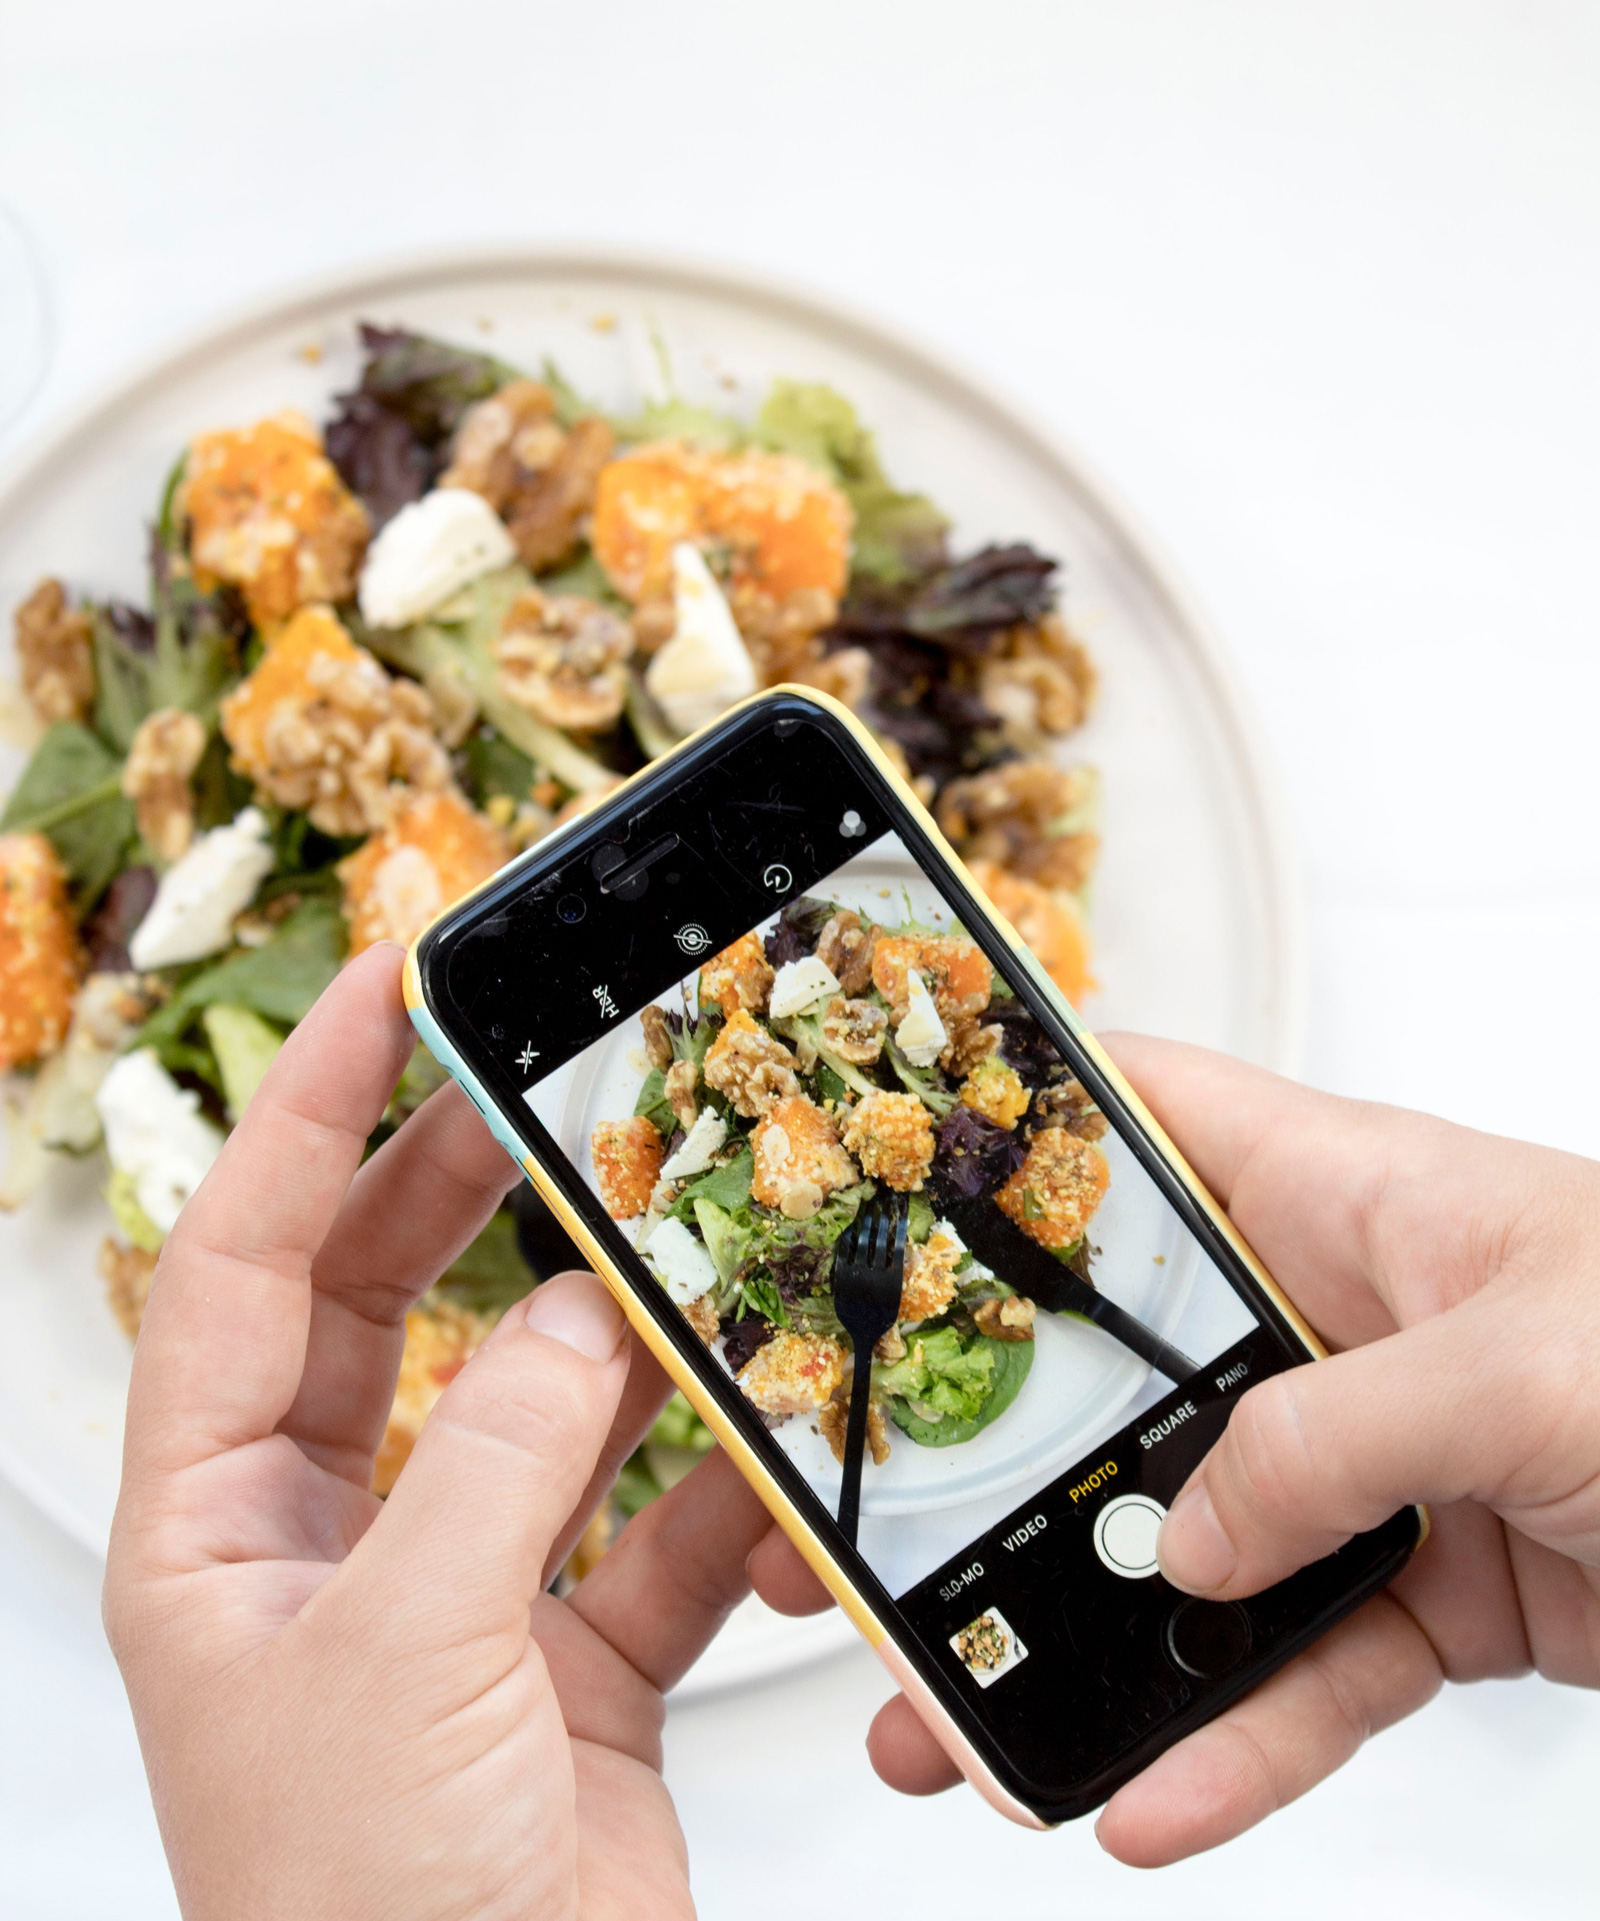
When starting a food blog, one of the most challenging things to learn is how to take good looking photographs of your food. I’m not a professional photographer, so I don’t have a studio set or a professional camera. Instead, I take the food photos with my iPhone. However, I’ve found some really great ideas to help make the chef’s food look as good as it tastes!
Good Lighting
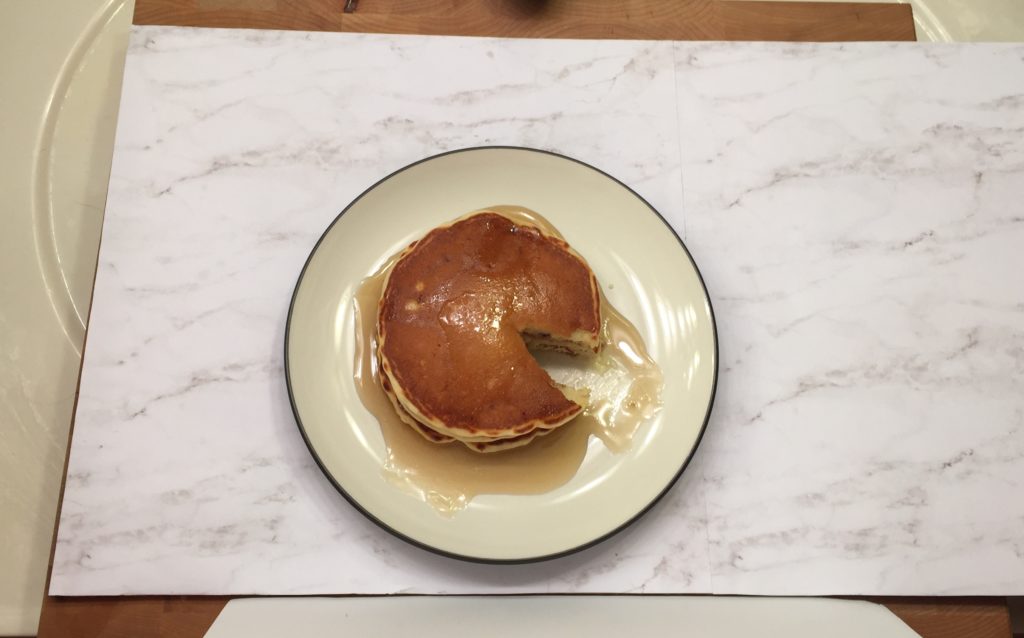
Finding a good light source is the most important part of taking good pictures of your food. I found that the lights in our kitchen and dining room gave off a very yellow light, and made the food look unappetizing. For example, take a close look at the color of the syrup in these two pictures of the same pancakes. On the left, you can see how the yellow artificial lights makes the syrup look kind of green. In contrast, the syrup in the right image has a nice golden color that looks more appetizing (don’t mind the fact that the butter and syrup have melted a bit more, haha).

If it’s possible, find a good natural light source. If you have a window in your kitchen, just turn off your electric lights and place your food by the window. The sun is a great light source that makes food look very natural and appetizing. However, you do have to worry about timing when using the sun as your main light source. So if you’re making dinner, chances are the sun has set before you’ve finished making the masterpiece.
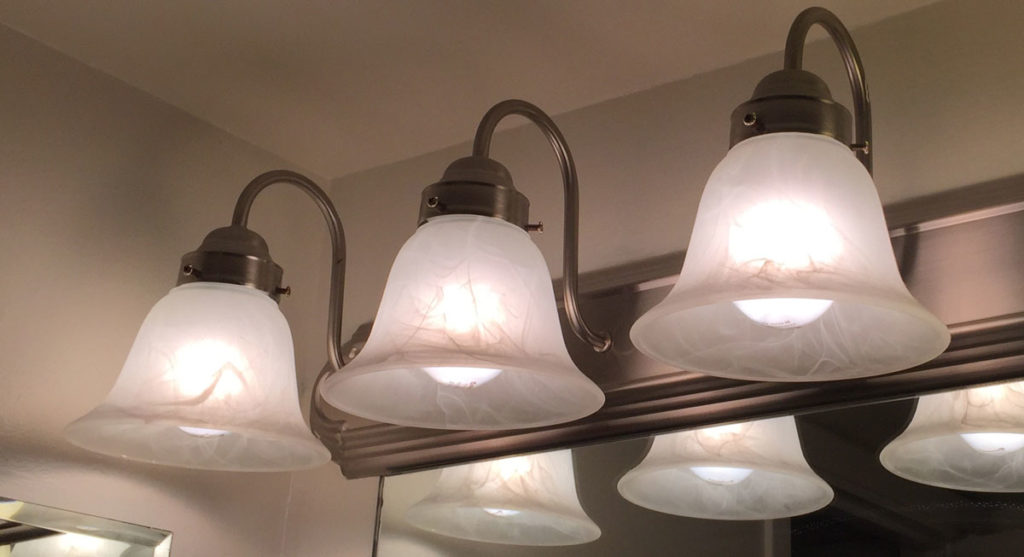
Since we currently don’t have any windows in our kitchen, and we like to cook late, we prefer to use artificial lighting. After experimenting with all of the lights we have in our apartment, we found that our bathroom vanity lights give off amazingly bright white light. There are 4 LED light bulbs above our mirror. These give off more of a natural looking light, which looks great with food.
Pay Attention to the Items in the Background
When taking your food photos, take special attention what is in the background of the picture. You don’t want dirty dishes or a cluttered mess distracting from the star of the show: your delicious food.
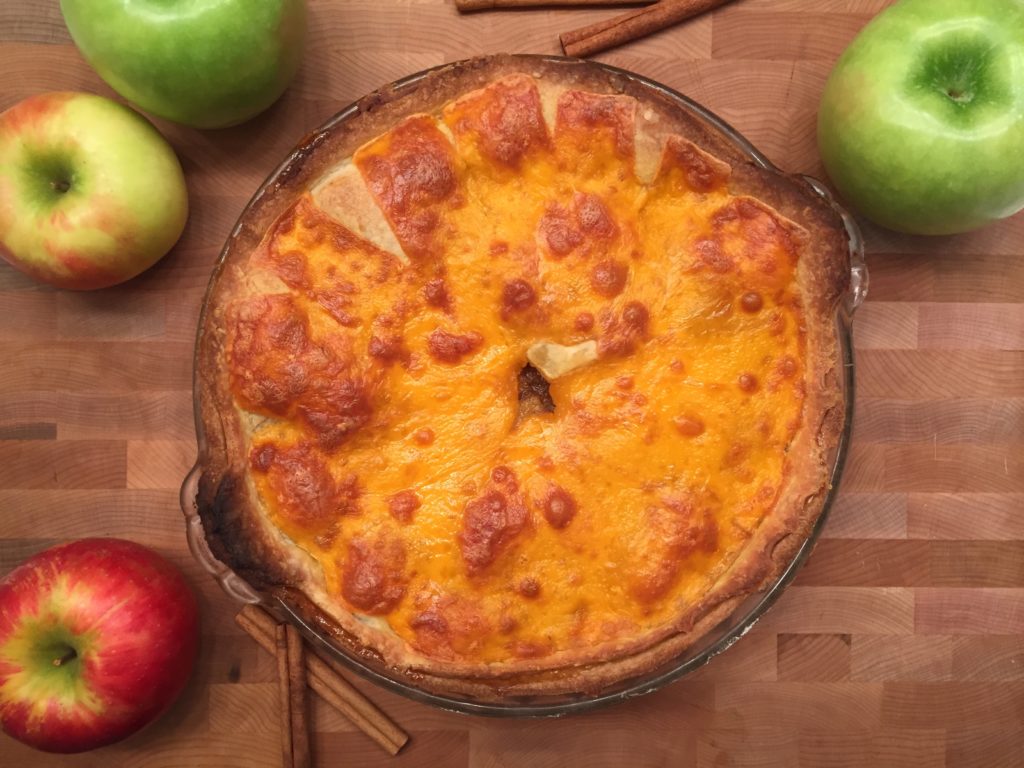
However, sometimes we like to artfully display ingredients around the food. If you want to try this, just make sure the objects help the viewer understand more fully what the dish tastes like. For example, when photographing the chef’s 5 spice apple cheddar pie, we placed cinnamon sticks and apples around the pie, to visually show the flavors contained inside.
Neutral Surface Colors
You also want to think about the surface where your food is going to be placed. Neutral colors like white, tan, or black work really well. For example, in the pie picture above, we used our wooden butcher block. If you need a softer look, you can also use textiles like napkins or towels that have a pretty pattern.
What should you do if your kitchen countertop is kind of ugly? With a few dollars and bit of creativity, you can also create a fake countertop! I took a piece of white foam board and glued on a couple sheets of paper that have a white marble pattern. So voila, we now have a white marble “countertop” that we can move wherever the lighting is the best!
Here’s a behind the scenes picture of how we typically take our food pictures indoors. Holding up a piece of white foam board can also help reflect light and brighten the food as well.
